MOQI Webinars for Spring Semester 2018
![]() Are you looking for professional development opportunities without needing to leave your office? MOQI has just the thing for you. Check out the list of FREE webinars scheduled from January through April. Review the list, find something of interest, and register today. The MN Quality Online Initiative (MOQI) promotes quality course design through professional development and statewide collaboration.
Are you looking for professional development opportunities without needing to leave your office? MOQI has just the thing for you. Check out the list of FREE webinars scheduled from January through April. Review the list, find something of interest, and register today. The MN Quality Online Initiative (MOQI) promotes quality course design through professional development and statewide collaboration.
| Wed. January 10, 2018
Noon- 1 |
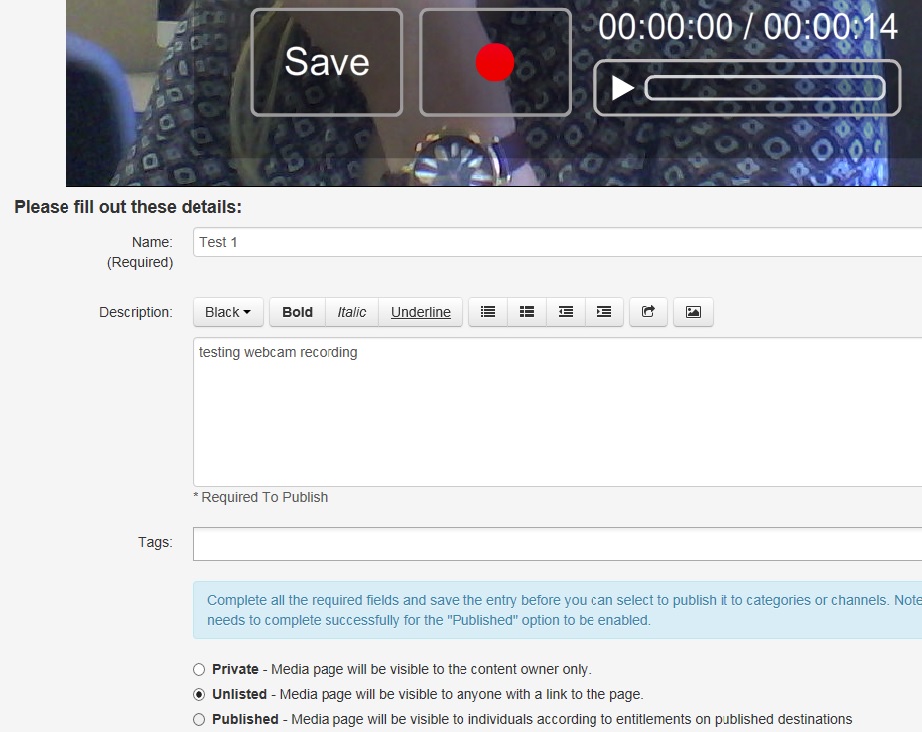
MOQI Webinar: Mediaspace for Recorded Lectures In this webinar, participants will learn how to capture a lecture using Mediaspace as well as how to integrate their lectures into D2L Brightspace. This webinar will focus on the technical aspects of recording lectures including audio levels, camera composition, capturing web camera and PowerPoint presentations, editing, machine-close caption the video and share this in D2L Brightspace. Step-by-step guides will be provided. Register for webinar: https://mnquality.eventbrite.com |
| Wed. January 24, 2018
Noon -1
|
MOQI Webinar: Tips to Improve Navigation, Usability, and Organization in Your Online or Blended Course Register for webinar: https://mnquality.eventbrite.com |
| Wed. February 14, 2018
Noon – 1 |
MOQI Webinar: Increase Student Engagement Using Discussion Boards Participants will be introduced to ways you can engage your students with icebreakers to get to know each other, team building, introduce new technologies, hands-on experience with the discussion tool. Participants will also learn how to structure a debate online to increase student critical thinking skills and deepen their knowledge on course topics, incorporate scenario based learning as an effective way for students to apply what they are learning to realistic situation and participants will learn how to create a discussion board in which students can become the expert on a course topic requiring them research, apply concepts and examples. Templates, assignment directions and examples will be provided. After this webinar you will be able to: 1. Discuss techniques for increasing engagement using the discussion board. 2. Utilize planning worksheets and templates to implement discussion board concepts. 3. Increase student engagement with discussion boards. Register for webinar: https://mnquality.eventbrite.com |
| Wed. February 21, 2018
Noon – 1 |
MOQI Webinar: Accessibility, UDL, and You Participants will learn about how to create accessible course content using Word, PowerPoint, Mediaspace, and D2L Brightspace files. Handouts and guides will be provided. After this webinar, you will be able to: 1. Explain the difference between and main concepts of accessible course design, accommodation, and Universal Design Learning principles. 2. Identify several strategies for implementing UDL principles in your own course. 3. Create accessible course content including course documents (Word, PowerPoint, PDF), video captioning in Mediaspace, and content pages in Brightspace. Register for webinar: https://mnquality.eventbrite.com |
| Wed. February 28, 2018
Noon-1 |
MOQI Webinar: Learning Objectives: What, Why, Where, & How Well-written learning objectives establish the foundation upon which courses are designed and delivered. They form the basis for the instructional materials and assessments that are included in the course. Learning Objectives serve as an implied contract between the instructor and student by defining what is to be taught and what is to be learned, so communicating these objectives clearly is a crucial step in assuring an effective learning experience. This session will review best practices for creating and sharing measurable learning objectives in your online or blended course. Register for webinar: https://mnquality.eventbrite.com |
| Wed. March 7, 2018
Noon – 1 |
MOQI Webinar: The ABCs of Assessments Assessment, Evaluation, and Testing are often used interchangeably. What do we mean when we talk about formative assessment, summative assessment, aligned assessment, and evaluation? Is that the same as testing? Assessment is a crucial part of any course because it allows your students to demonstrate mastery of the learning objectives. But how do you know what type of assessment to choose? Register for webinar: https://mnquality.eventbrite.com |
| Wed. March 21, 2018
Noon-1 |
MOQI Webinar: Lights, Camera, Action…Recorded Lectures After this webinar you will be able to: 1. Describe PowerPoint design elements: theme, images, accessibility features, and use of master templates. 2. Create a video outline for instructional videos. 3. Utilize a planning document to produce effective recorded lectures. 4. Apply broadcast industry best practices for recorded lectures. Register for webinar: https://mnquality.eventbrite.com |
| Wed. March 28, 2018
Noon – 1 |
MOQI Webinar: Accessibility, UDL, and You Participants will learn about how to create accessible course content using Word, PowerPoint, Mediaspace, and D2L Brightspace files. Handouts and guides will be provided. After this webinar, you will be able to: 1. Explain the difference between and main concepts of accessible course design, accommodation, and Universal Design Learning principles. 2. Identify several strategies for implementing UDL principles in your own course. 3. Create accessible course content including course documents (Word, PowerPoint, PDF), video captioning in Mediaspace, and content pages in Brightspace. Register for webinar: https://mnquality.eventbrite.com |
| Wed. April 4, 2018
Noon – 1 |
MOQI Webinar: Mediaspace for Recorded Lectures After this webinar you will be able to: 1. Utilize Mediaspace to record lectures including web camera and presentations. 2. Share recorded lectures in D2L Brightspace. Register for webinar: https://mnquality.eventbrite.com |
| Wednesday, April 18, 2018
Noon – 1 |
MOQI Webinar: Tips to Improve Navigation, Usability, and Organization in your Online or Blended Course This session will introduce you to different ways to create and organize your course content to improve the learning experience for your students. Tips will include different content creation strategies to improve accessibility and usability. Several different course organization approaches will be shared that will streamline the learning experience for your students including how to link other Brightspace and external tools into your course content area. Register for webinar: https://mnquality.eventbrite.com |
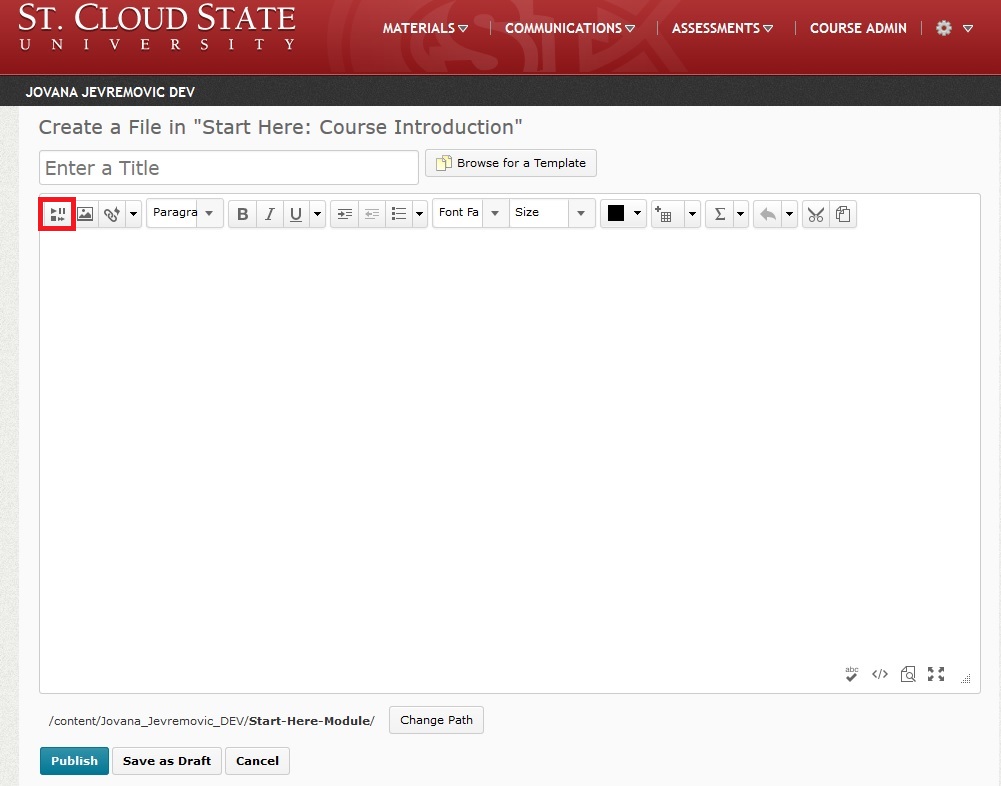
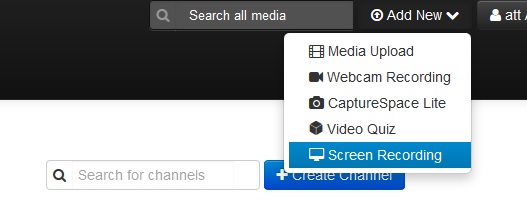
 Insert Stuff icon.
 My Computer to browse and select a file from your computer.
 Upload to upload a file to the directory. You can also select a file type from the Media Type drop-down list and click Apply to filter your directory search.
 YouTube to browse and select a video you want to insert.
 Insert Link to insert the URL for an online media file.