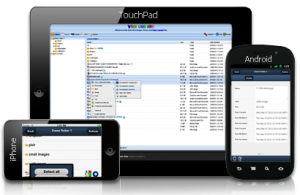
 A while back I wrote about the latest update to the Web-based File Access method. One of the new features listed was the addition of native mobile apps. Before I go any further I want to set expectations. This is the company’s first crack at a mobile app and the functionality is very limited. The device platforms, iOS in particular, restrict many of the interactions you might expect to be able to leverage. That said, let’s start by looking at the install and configuration.
Step 1. Install Http Commander App
Download app for iOS or Android by searching for “Http Commander” from your device, and install the app once you’ve found it.


Step 2. Add New Account
Open the Htp Commander app. When you first open the app you’ll see a demo account listed for Element-IT Demo. You’ll need to add a new account. For Android users click the menu button, iOS users will see an Add option in the top menu.

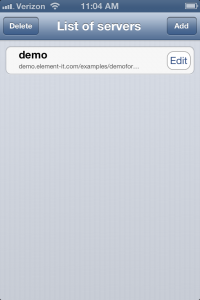
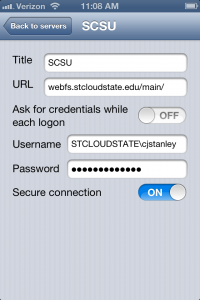
Step 3a. Configure (iOS)
Name: Pick a name that makes sense to you (i.e. SCSU)
URL: webfs.stcloudstate.edu/main/ (Note: be sure to include the / at the end)
Login: STCLOUDSTATE\huskynetid
Password: Enter HuskyNetID Password
Secure Connection: ON
Step 3b. Configure (Android)
Name: Pick a name that makes sense to you (i.e. SCSU)
URL: https://webfs.stcloudstate.edu/main/ (Note: be sure to include https:// at the beginning and the / at the end)
Login: STCLOUDSTATE\huskynetid
Password: Enter HuskyNetID Password

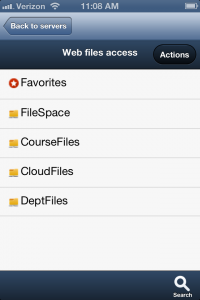
Now that you’re in you will see what I mean about limited functionality. iOS devices are not able to download files. Uploading is fairly limited too – primarily limited to pictures. Many document types can be previewed in the browser though.
Once you’ve checked out the app and its features feel free to post issues, ideas, or other feedback – we’ll pass on your thoughts to the vendor.




 media:scape furniture by Steelcase provides collaborative work spaces allowing users to connect their laptops and easily flip between presenters. The demo units are on campus and we hope to gather as much feedback on these units as possible. Many have voiced the need to enhance collaboration and provide more casual computing environments. We hope that the media:scape furniture will do exactly that. There is a larger unit setup in Atwood near the Student Government office, and a smaller mobile unit setup in the Library in room 110. The smaller unit will likely be relocated to a more public location soon. I strongly encourage you to stop by and check the furniture out and provide feedback so we can learn what features are important to our community. Maybe you’ll come up with a great use case or modification that we haven’t thought of!

